How to Prepare a House for Real Estate Photography (Checklist)
A room-by-room checklist to prep any property before the shoot. Faster shoots, cleaner photos, and less editing — with a free downloadable-style checklist.

Emily Rodriguez
March 20, 2026
The best real estate photos are made before you ever pick up the camera. A well-prepared property shoots faster, looks cleaner, and needs far less editing afterwards. This room-by-room checklist walks you (or your client) through exactly what to do before the photographer arrives.
Why preparation matters
- Faster shoots: A prepped home can be shot in half the time.
- Cleaner photos: Fewer distractions mean stronger, more sellable images.
- Less editing: Every item you tidy is one fewer thing to remove in post.
Whole-home basics
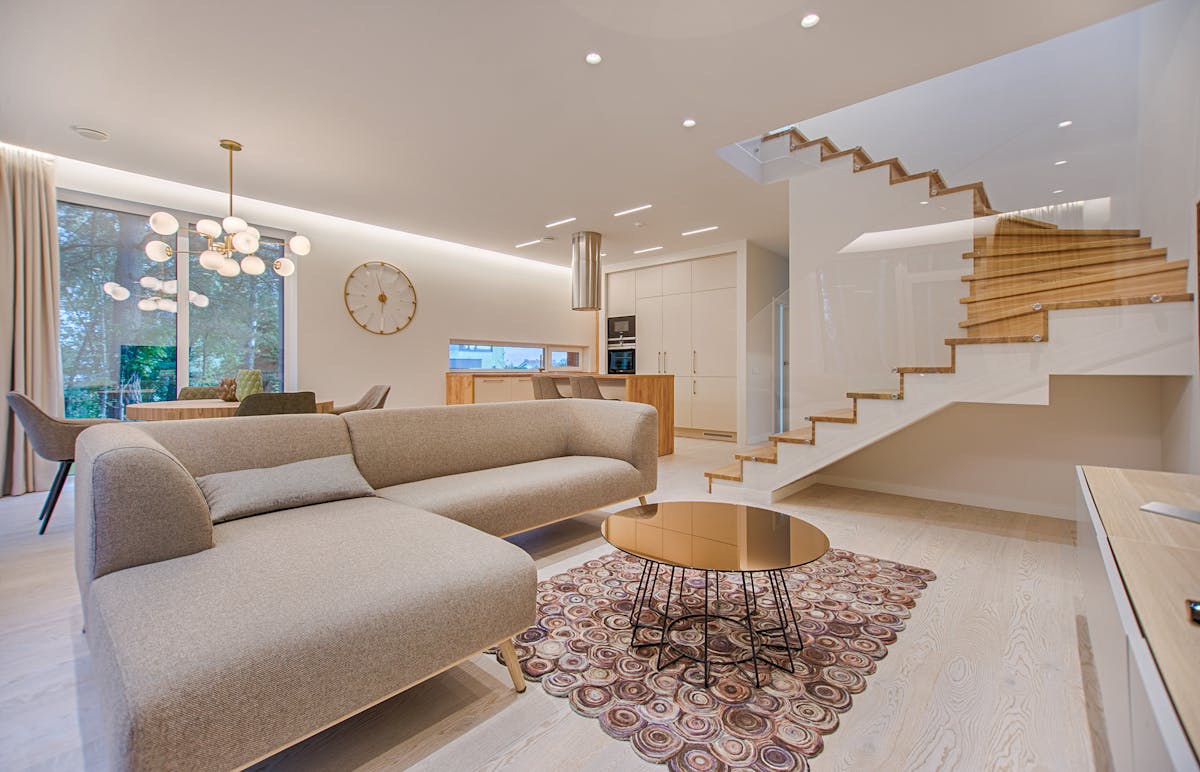
- Open every blind and curtain to let in natural light.
- Turn on every light and replace any dead or mismatched bulbs.
- Turn off all ceiling fans and TVs.
- Remove personal photos, calendars, and anything with names or dates.
- Tidy cables and cords, and hide power strips where possible.
Anything you can't physically remove on the day — a neighbouring car, a bin, a cord behind the TV — can be handled later with professional item removal, but the cleaner the source photo, the better the result.
Kitchen
- Clear countertops down to one or two decorative items.
- Remove magnets, notes, and clutter from the fridge.
- Hide dish soap, sponges, and bins.
- Wipe down reflective surfaces to avoid fingerprints and smudges.
Living areas
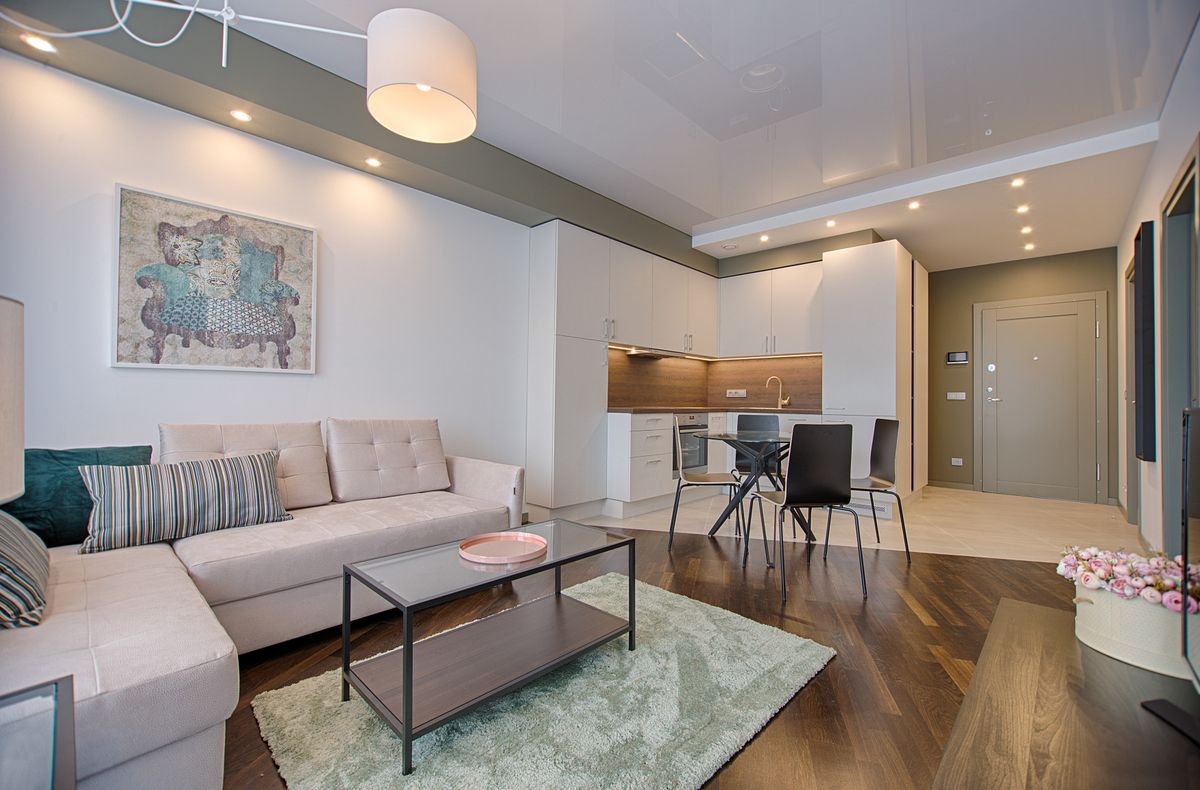
- Fluff and straighten cushions; fold throws neatly.
- Align furniture parallel to walls to keep lines clean.
- Remove remote controls, chargers, and kids' toys.
Bedrooms
- Make the bed with clean, wrinkle-free linens.
- Clear nightstands to a lamp and one small item.
- Close wardrobe doors.
Bathrooms
- Remove toiletries, razors, and toothbrushes from view.
- Close toilet lids.
- Hang fresh, matching towels.
- Polish mirrors and glass.
Exterior & curb appeal
- Move cars out of the driveway and off the frontage.
- Hide bins, hoses, and garden tools.
- Mow the lawn and sweep paths.
If the sky is grey on shoot day or the lawn looks tired, don't reschedule — those are easy fixes with sky replacement and lawn enhancement. And for a show-stopping hero image, a day to dusk conversion turns an ordinary exterior into a twilight scene.
On the day: shooting for the edit
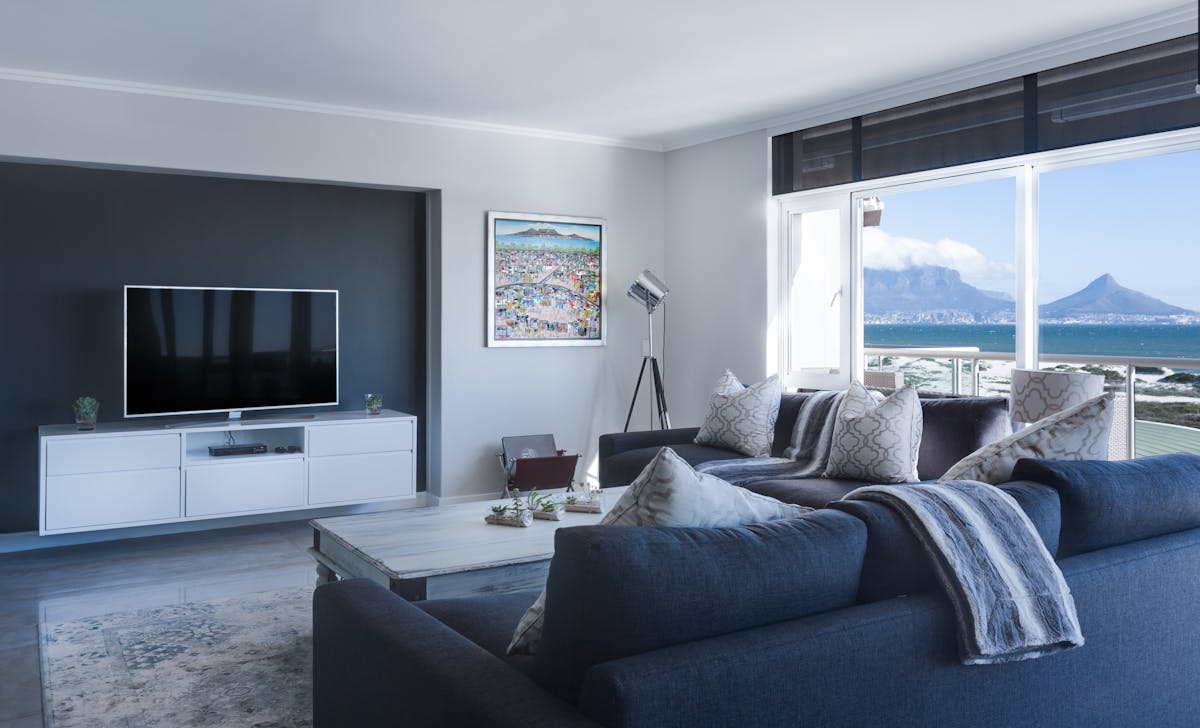
Bracket your exposures so your editor can blend perfectly balanced windows and interiors. If you shoot brackets, professional HDR photo editing will pull the view through every window and deliver a natural, true-to-life result. Not sure how many frames to shoot? See our guide, How to Shoot HDR Real Estate Photos.
The quick checklist
- Lights on, fans off, blinds open
- Counters and surfaces cleared
- Personal items and clutter removed
- Beds made, towels hung, toilet lids down
- Cars moved, bins hidden, lawn tidy
Prep the property, shoot your brackets, and let Shashio handle the rest. Place your first order and get sale-ready photos back in 4–12 hours.
About Emily Rodriguez
Real estate photographer and educator who has shot over 3,000 listings and trains new photographers on efficient shoot workflows.
Ready to Transform Your Property Listings?
Get professional photo editing services that help your properties sell faster.
Start Editing with Shashio